Introducing the DHT11 and DHT22 Sensors
The DHT11 and DHT22 sensors are among the most popular temperature and humidity sensors for Arduino and other microcontroller projects. These sensors provide reliable environmental monitoring capabilities at an affordable price point, making them ideal for weather stations, greenhouse controllers, home automation systems, and IoT applications.
What makes these sensors particularly user-friendly is their integrated digital signal processing. Unlike analog sensors that require external analog-to-digital converters, DHT sensors have a built-in chip that handles the conversion internally and outputs a clean digital signal. This simplifies wiring and programming while maintaining good accuracy for most applications.
DHT11 vs DHT22: Key Differences
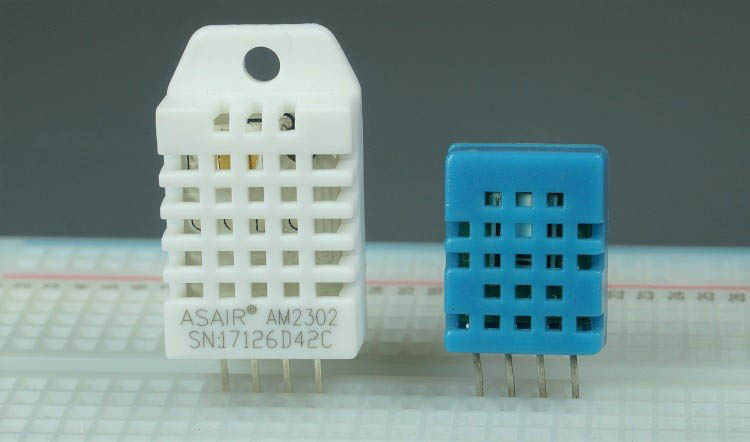
While the DHT11 and DHT22 look similar and share the same basic functionality, they have significantly different specifications that make each suitable for different applications. Understanding these differences will help you choose the right sensor for your project.
| Specification | DHT11 | DHT22 |
|---|---|---|
| Temperature Range | 0°C to 50°C (±2°C accuracy) | -40°C to 80°C (±0.5°C accuracy) |
| Humidity Range | 20% to 90% (±5% accuracy) | 0% to 100% (±2% accuracy) |
| Resolution | Temperature: 1°C, Humidity: 1% | Temperature: 0.1°C, Humidity: 0.1% |
| Operating Voltage | 3V to 5.5V DC | 3V to 6V DC |
| Current Supply | 0.5mA to 2.5mA | 1mA to 1.5mA |
| Sampling Period | 1 second | 2 seconds |
| Typical Price | $1 to $5 | $4 to $10 |
DHT22 Advantages: The DHT22 offers superior accuracy, wider measurement ranges, and higher resolution. It's suitable for applications requiring precise measurements or operation in extreme temperatures.
DHT11 Advantages: The DHT11 is more affordable and provides faster sampling (1 second vs 2 seconds). It's perfect for basic applications where extreme precision isn't critical.
For Precision Applications
Choose DHT22 for scientific measurements, climate-controlled environments, or applications requiring high accuracy.
For Budget Projects
Choose DHT11 for hobby projects, educational purposes, or when cost is a primary consideration.
For Extreme Temperatures
Choose DHT22 for outdoor applications, freezer monitoring, or environments below 0°C or above 50°C.
For Fast Sampling
Choose DHT11 when you need readings more frequently than every 2 seconds.
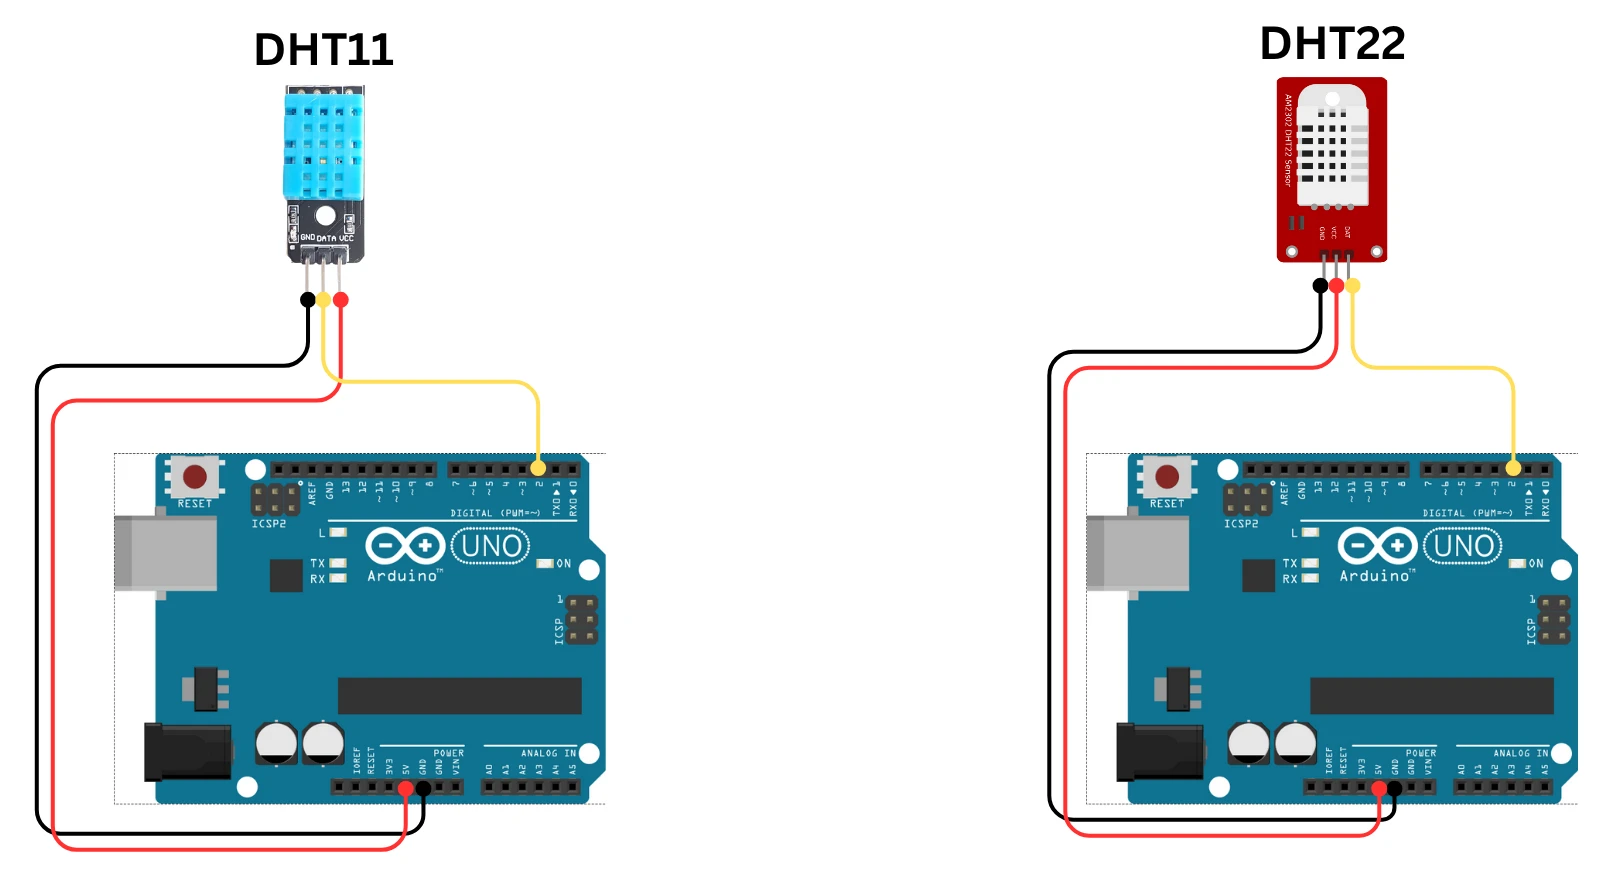
DHT Sensor Pinout and Wiring
DHT sensors typically have four pins arranged in a single row. Understanding the pinout is essential for proper connection:
| DHT Pin | Description | Connect to Arduino |
|---|---|---|
| Pin 1 (VCC) | Power supply (3-5.5V) | 5V or 3.3V pin |
| Pin 2 (DATA) | Data pin (digital signal) | Any digital pin (with 10kΩ pull-up resistor) |
| Pin 3 (NC) | No connection | Leave unconnected |
| Pin 4 (GND) | Ground | GND pin |
1 Required Components
Before starting your DHT11/DHT22 project, gather these essential components:
- Arduino Board: Uno, Nano, Mega, or compatible microcontroller
- DHT Sensor: DHT11 or DHT22 temperature and humidity sensor
- Resistor: 10kΩ pull-up resistor (if your sensor module doesn't include one)
- Breadboard: For prototyping and easy connections
- Jumper Wires: Male-to-male for making connections
- USB Cable: For programming and powering the Arduino
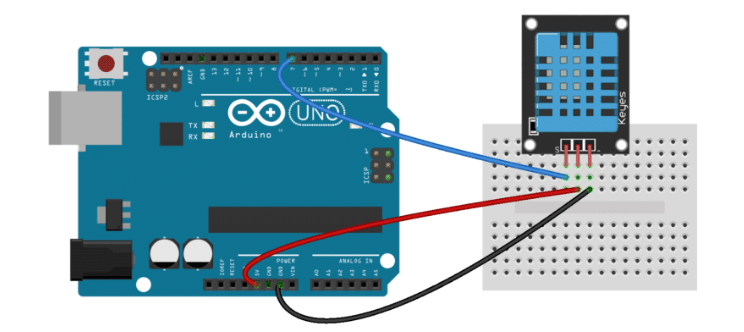
2 Wiring Instructions
Follow these connections to wire your DHT sensor to Arduino:
- Power Connection: Connect DHT Pin 1 (VCC) to Arduino 5V pin
- Data Connection: Connect DHT Pin 2 (DATA) to Arduino Digital Pin 2
- Pull-up Resistor: Add a 10kΩ resistor between DHT Pin 1 (VCC) and Pin 2 (DATA)
- Ground Connection: Connect DHT Pin 4 (GND) to Arduino GND pin
- No Connection: Leave DHT Pin 3 (NC) unconnected
Installing Required Libraries
3 Library Installation Process
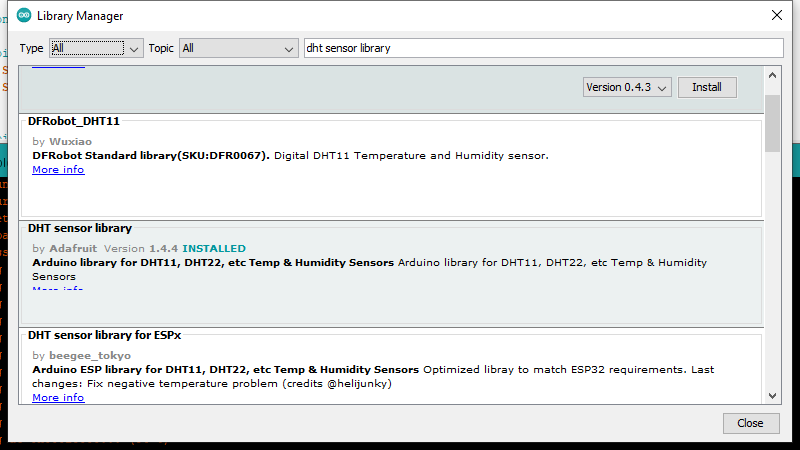
The easiest way to work with DHT sensors is through the Adafruit DHT library, which handles all the complex timing and signal processing. You'll also need the Adafruit Unified Sensor Library as a dependency.
- Open Arduino IDE: Launch the Arduino Integrated Development Environment
- Access Library Manager: Go to Sketch > Include Library > Manage Libraries
- Search for DHT Library: Type "DHT sensor library" in the search box
- Install DHT Library: Find "DHT sensor library by Adafruit" and click Install
- Install Unified Sensor Library: Search for "Adafruit Unified Sensor" and install it
- Restart Arduino IDE: Close and reopen the IDE to complete installation
Complete Arduino Code for DHT Sensors
4 Basic Reading Example
Here's the complete code to read temperature and humidity from DHT sensors and display results in the Serial Monitor:
// Complete DHT Sensor Reading Example
// Works with DHT11, DHT22, and DHT21 sensors

#include "DHT.h"

// Configuration - Modify for your setup
#define DHTPIN 2          // Digital pin connected to DHT sensor
#define DHTTYPE DHT11     // DHT 11
//#define DHTTYPE DHT22   // DHT 22 (AM2302)
//#define DHTTYPE DHT21   // DHT 21 (AM2301)

// Initialize DHT sensor
DHT dht(DHTPIN, DHTTYPE);

void setup() {
  Serial.begin(9600);
  Serial.println("DHTxx sensor test!");

  dht.begin();
}

void loop() {
  // Wait between measurements (2 seconds for DHT22, 1 for DHT11)
  delay(2000);

  // Read humidity as percentage
  float humidity = dht.readHumidity();

  // Read temperature as Celsius (default)
  float tempC = dht.readTemperature();

  // Read temperature as Fahrenheit
  float tempF = dht.readTemperature(true);

  // Check if any reads failed
  if (isnan(humidity) || isnan(tempC) || isnan(tempF)) {
    Serial.println("Failed to read from DHT sensor!");
    return;
  }

  // Calculate heat index (apparent temperature)
  float heatIndexF = dht.computeHeatIndex(tempF, humidity);
  float heatIndexC = dht.computeHeatIndex(tempC, humidity, false);

  // Display results in Serial Monitor
  Serial.print("Humidity: ");
  Serial.print(humidity);
  Serial.print("%\t");

  Serial.print("Temperature: ");
  Serial.print(tempC);
  Serial.print("°C / ");
  Serial.print(tempF);
  Serial.print("°F\t");

  Serial.print("Heat index: ");
  Serial.print(heatIndexC);
  Serial.print("°C / ");
  Serial.print(heatIndexF);
  Serial.println("°F");
}
Code Explanation: This example uses the DHT library to simplify communication with the sensor. The readHumidity() and readTemperature() methods handle all the complex timing, and the computeHeatIndex() function calculates the "feels like" temperature based on both temperature and humidity.
5 Code Customization Guide
To adapt this code for your specific project, modify these key sections:
- Change Sensor Type: Comment/uncomment the appropriate
#define DHTTYPEline for your sensor (DHT11 or DHT22) - Change Data Pin: Modify
#define DHTPIN 2to use a different Arduino digital pin - Adjust Reading Delay: Change
delay(2000)todelay(1000)for DHT11 or longer for energy-saving applications - Add Output Displays: Extend the code to send data to LCD displays, web servers, or SD card loggers
- Implement Alerts: Add conditional statements to trigger actions when temperature/humidity exceed thresholds
Testing and Verification
6 Serial Monitor Output
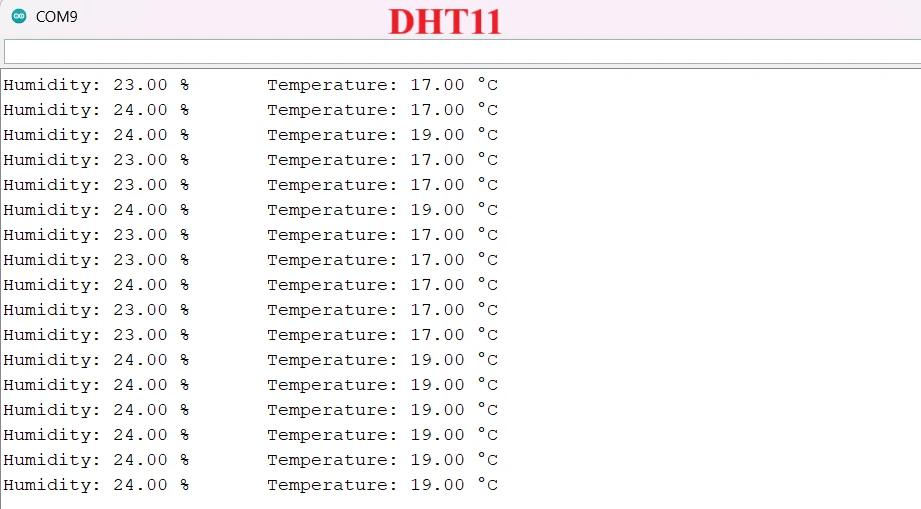
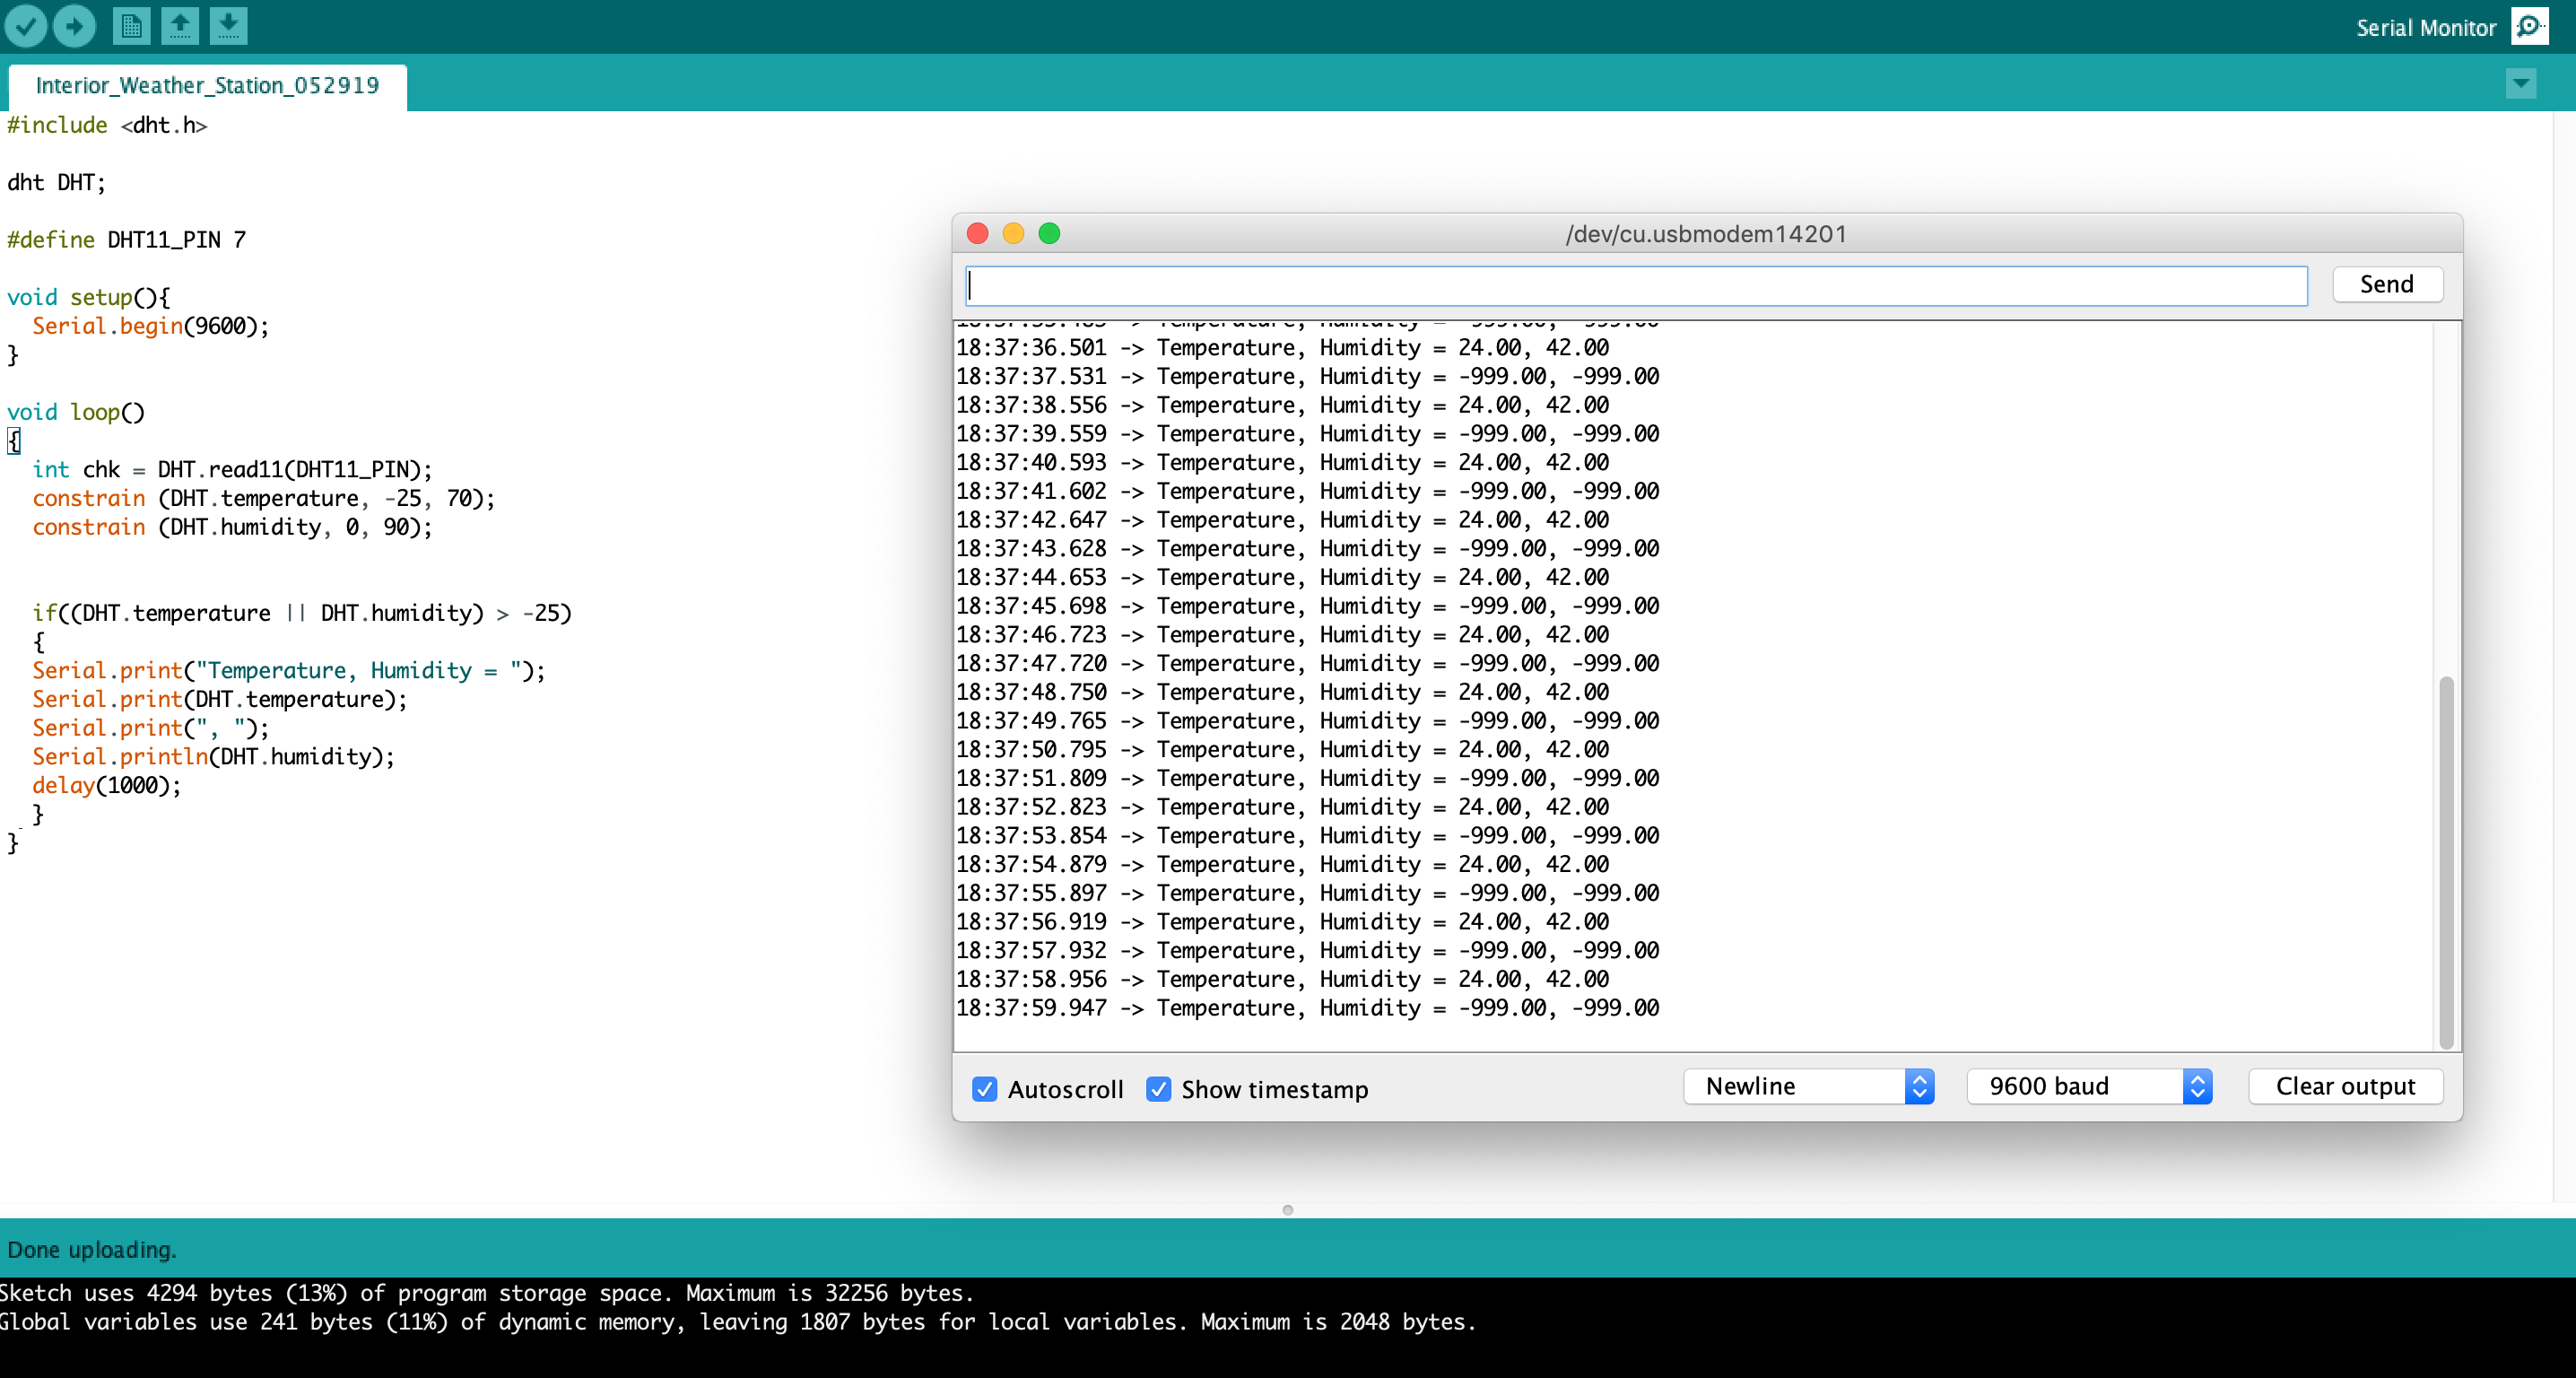
After uploading the code to your Arduino, follow these steps to verify it's working:
- Open Serial Monitor: In Arduino IDE, go to Tools > Serial Monitor
- Set Baud Rate: Ensure it's set to 9600 (matches
Serial.begin(9600)in code) - Check Output: You should see readings every 2 seconds like this:
DHTxx sensor test!
Humidity: 45.0%   Temperature: 22.5°C / 72.5°F   Heat index: 21.9°C / 71.4°F
Humidity: 44.8%   Temperature: 22.6°C / 72.7°F   Heat index: 22.0°C / 71.6°F
Advanced Project Applications
With the basics mastered, consider these practical applications for DHT sensors:
Smart Thermostat
Create an intelligent heating/cooling controller that maintains optimal temperature and humidity levels while saving energy.
Plant Monitoring System
Build an automated greenhouse controller that monitors environmental conditions and triggers watering or ventilation.
Weather Station
Develop a complete weather monitoring station that logs temperature and humidity data for analysis.
Server Room Monitor
Implement an environmental monitoring system for server rooms or electronics cabinets with alert capabilities.
Comprehensive Troubleshooting Guide
7 Common Issues and Solutions
If you encounter problems with your DHT sensor, follow this systematic troubleshooting approach:
"Failed to read from DHT sensor!"
Solutions: Check wiring connections, verify power supply (3-5V), ensure pull-up resistor is installed, increase delay between readings.
NaN (Not a Number) Readings
Solutions: Verify sensor type in code matches hardware, check for loose connections, test with different sensor.
Inconsistent or Erratic Readings
Solutions: Use shorter wires to reduce noise, add 100nF capacitor between VCC and GND, ensure stable power supply.
Sensor Not Detected
Solutions: Double-check pin assignments, verify library installation, test with known working sensor.
Project Expansion Ideas
8 Taking Your Project Further

Once you've mastered basic DHT sensor usage, consider these advanced enhancements:
- Multiple Sensors: Create a network of DHT sensors to monitor different locations or zones
- Wireless Connectivity: Add WiFi (ESP8266/ESP32) or Bluetooth to transmit data wirelessly
- Data Logging: Implement SD card storage or cloud uploading for long-term data analysis
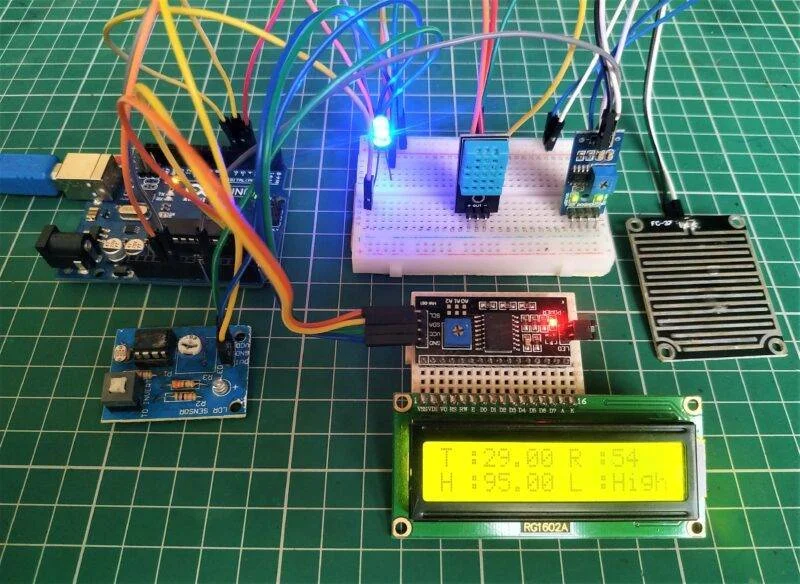
- Visual Displays: Add LCD or OLED screens for standalone operation without computers
- Automated Controls: Integrate with relays to control fans, heaters, or humidifiers based on readings
- Web Interface: Create a dashboard to monitor conditions remotely via web browser
Comparison with Alternative Sensors
While DHT sensors are excellent for many applications, other options might better suit specific needs:
| Sensor Type | Advantages | Best For |
|---|---|---|
| DHT11/DHT22 | Low cost, digital output, combined temperature/humidity | General purpose environmental monitoring |
| BME280 | Higher accuracy, includes barometric pressure, I2C/SPI interface | Weather stations, altitude tracking, precision applications |
| DS18B20 | Higher temperature accuracy, one-wire interface, multiple sensors on one pin | Temperature-only applications, distributed sensing |
| SHT31 | Professional-grade accuracy, fast response, I2C interface | Scientific applications, industrial monitoring |
| LM35/TMP36 | Simple analog output, no libraries required, very low cost | Basic temperature sensing, educational projects |
Conclusion and Next Steps
You now have a complete understanding of how to implement DHT11 and DHT22 temperature and humidity sensors with Arduino. These versatile components provide an accessible entry point into environmental monitoring and IoT projects.
Key takeaways for success:
- Choose the right sensor: DHT22 for precision/extreme ranges, DHT11 for budget/faster sampling
- Proper wiring is essential: Include pull-up resistor unless using pre-assembled module
- Use the Adafruit library: Simplifies coding and handles complex timing requirements
- Respect sampling rates: 2 seconds for DHT22, 1 second for DHT11
- Implement error checking: Always verify readings aren't NaN before using them
Your journey into environmental sensing has just begun. As you gain confidence with DHT sensors, consider exploring related topics like wireless data transmission, cloud integration, automated control systems, and combining multiple sensor types for comprehensive environmental monitoring.
Remember that every complex IoT system starts with simple components like the DHT sensors you've just learned to master. Start with basic monitoring, gradually add features, and soon you'll be building sophisticated environmental control systems that respond intelligently to changing conditions.